Monday, June 21, 2010

Fine Art

Car Fine Art
Enhancements: I edited this photo using camera RAW. I increased the saturation, clarity, and vibrance to boost the colors. Then I put the photo in the template that I created to display some of my work.

The template was easy to make. I created a new document in Photoshop, then drew a rectangle. I hit Command + T to active the transform tool, then held shift while clicking on the rectangle and dragging over. This created a duplicate of the rectangle. I hit enter to combine the two, then hit Shift + Control + Alt + Command all together 3 times, which created 3 more rectangles. After arranging the 5 rectangles where I wanted, I dragged my photo over to this template, sized it, then holding Option I clicked between the photo layer and the rectangles layer. This stuck the photo behind everything and you could see the photo through the rectangles. Then I just added my signature and my business name.

Original; May 2, 2010; 7:45 p.m.; Rexburg, ID; f/ 4.0; 1/250; Canon S5 IS

Barn Fine Art
Enhancements: I used camera RAW to boost the colors in the photo. I didn't do any other edits besides clarity, vibrance, and saturations.

Original; May 14, 2010; 7:45 p.m.; Ririe, ID; f/ 4.0; 1/250; Canon S5 IS

Sunday, June 13, 2010

Borders

The Manor; 5:45 p.m.; June 12, 2010; Nevada City, MT; f/ 4.0; 1/320; Canon S5 IS
Enhancements: This started out as a Camera RAW edit, but I didn't really like the colors. So then I turned it to sepia and added the border. For the border I downloaded a brush and using a Quickmask I made a stamp to create the border. I selected the inverse and hit delete. This created the edge effect around the picture. Then I just dressed it up with some text. This turned out a lot better than I imagined.

Train Car; 7:00 p.m.; June 12, 2010; Nevada City, MT; f/ 3.2; 1/100; Canon S5 IS
Enhancements: To create the border on this photo, I started by enhancing the original photo with Camera RAW. I added the Cutout and Poster Edges filters to create a painted look on the photo. Then I placed the image layer above a blank white layer. I then placed a layer mask on the image layer and filled it with white. Then using a thick heavy brush with the color set to black, I painted back the original even using random uneven strokes. I adjusted the opacity on on different strokes to give it more of a rustic look.


Barber Shop; 5:45 p.m.; June 12, 2010; Nevada City, MT; f/ 4.0; 1/500; Canon S5 IS
Enhancements: I began by adjusting the original image with Camera Raw. Then I created a new blank layer and set the background color to black. Then I used the Rectangular Marquee tool with 50px feathering to draw a box about 1/4 inch from the edge, and then hit delete. While I still had the selection active, created a duplicate layer and added a white stroke. Then I adjusted the opacity on black and white layers so they weren't too overpowering. It created an interesting burned edge.

Monday, June 7, 2010

Daily Photos

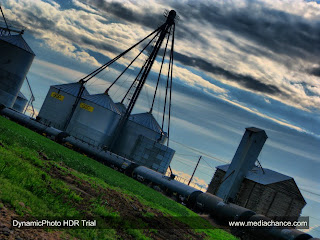
Grain Bins; 7:00 p.m.; June 7, 2010; Rexburg, ID; f/ 4.0; 1/800; Canon S5 IS
Enhancements: This one is out of order from the others because I had to come back and change a few things. I used Dynamic Photo to process this as a HDR photo. I used 3 different images at different exposures to created this photo. I increased the vivid colors and brightness a bit. I was really pleased at how well this one turned out. I used Program mode to take the shot.
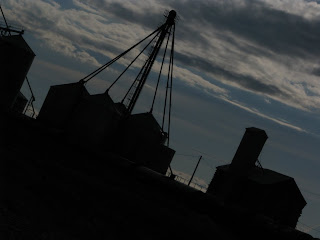
Grainry 2- Exposure
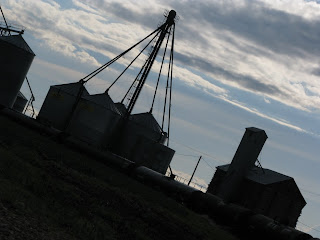
Grainry 0 Exposure
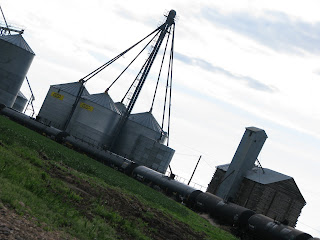
Grainry 2+ Exposure
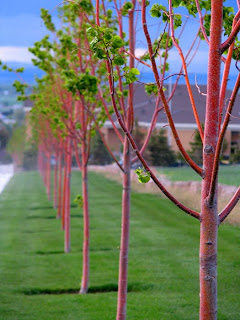
Trees; 7:30 p.m.; June 1, 2010; Rexburg, ID; f/ 4.0; 1/80; Canon S5 IS
Enhancements: I used levels and saturation to make the colors stand out more in this photo. I used Aperture Priority to take the shot.
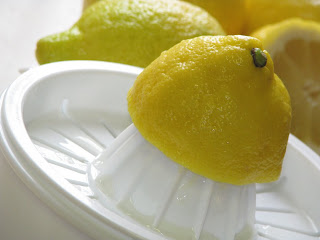
Lemon Juicer; 3:30 p.m.; June 2, 2010; Egin, Idaho; f/ 3.5; 1/80; Canon S5 IS
Enhancements: I didn't do very much on this photo. I increased the the saturation and adjusted the hue a little bit so that the lemons really stuck out. I used Aperture Priority to take the shot.

Textbook; 9:00 p.m.; June 3, 2010; f/ 3.5; 1/60; Canon S5 IS
Enhancements: I increased the saturation, changed the hue, brightened it up a bit then added a vignette. I used Aperture Priority to take the shot.
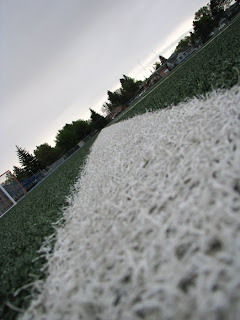
Field Lines; 7:00 p.m.; June 4, 2010; Rexburg, ID; f/ 3.2; 1/60; Canon S5 IS
Enhancements: This has been a hard week to take outdoor shots because of all the rain we have been getting. On this photo I just adjusted the levels and increased the saturation. I used Aperture Priority to take the shot.
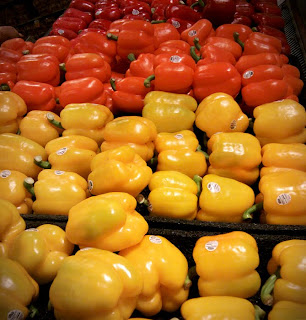
Peppers; 6:00 p.m.; June 5, 2010; Idaho Falls, ID; f/ 2.0; 1/100; Samsung cell phone
Enhancements: I was wandering around Fred Meyers when I saw these peppers. I didn't have my regular camera, so I used my cell phone to snap the shot. It isn't the absolute best quality, but it still turned out pretty good. All I did was increase the saturation, adjust the levels, and add a vignette.
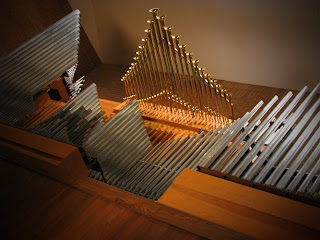
Barrus Organ; 6:30 p.m.; June 6, 2010; Rexburg, ID; f/ 3.2; 0.3; Canon S5 IS
Enhancements: I used Camera RAW to edit this photo. I increased the clarity, saturation, and vibrance. I also increased the Red hues to help the red colors in the wood stand out a little bit. Then I added a vignette to give it a sharper look. I used Program mode to take the shot.